Breakfast just got a whole lot easier. If you’re on the go as much as I am, it always pays off to spend a little extra time over the weekend to prepare some grab-and-go meals that will keep your full and focused throughout the week no matter what calendar cluster-Fs may arise.
For the past two weeks I’ve been making a big batch of healthy egg muffins on Sunday afternoosn, switching up the vegetables and accoutrements to keep things interesting. Below you’ll find my current favorite, but you can check my Instagram account for a recipe with asparagus, summer corn, and grape tomatoes. You can’t go wrong with either!
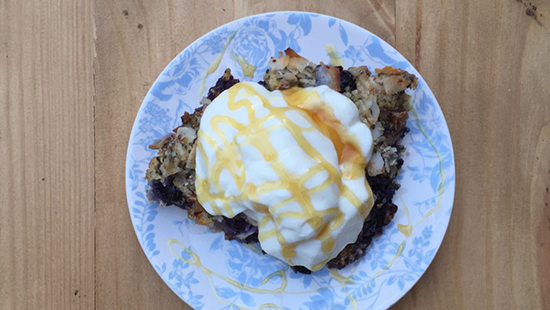
 Big Batch Breakfast (Part Deux): Healthy Veggie & Cheese Egg Muffins
Makes 12 egg muffins, or 6 servings.
Ingredients:
- Butter, coconut oil or nonstick cooking spray, to coat pans – or, use silicone baking cups
- 8 large eggs
- Splash of milk (can use nut milk if preferred)
- Generous pinch of sea salt and ground pepper
- 2 sprigs of fresh thyme, de-stemmed and minced
- 2 tsp olive oil
- 2 cups kale, cut into thin ribbons
- 1/2 cup sweet & spicy cherry peppers
- 1/2 large red onion, finely chopped
- 1 clove of garlic, minced
- 3/4 – 1 cup shredded parmesan
Directions:
- Preheat the oven to 350°F.
- Crack eggs into a large bowl and whisk with the milk, thyme, salt and pepper.
- Grease a 12-cup muffin pan as desired.
- Sauté red onion in olive oil for 5 minutes over medium-high heat with a pinch of salt. Add kale, sweet and spicy pepper, and garlic and sauté another 5-7 minutes.
- Divide veggie mixture and cheese between each muffin cup, then carefully pour eggs in until muffin tins are almost full – leaving about a 1/4-inch space.
- Bake for 20-25 minutes or until a wooden pick inserted in the center of a muffin comes out clean. The egg muffins will look like soufflé when they come out of the oven, but they will sink after a few minutes. Let them cool for a few minutes before using a rubber spatula to carefully remove each muffin.
Notes:
- Adapted from Popsugar.
- You can consume these immediately or let them cool, then transfer to a resealable plastic bag. They’ll refrigerate well for up to a week or freeze for up to three months.