I am a superfan of Paisley Fig‘s scones at Room 11 (soon to have its own storefront in Mt. Pleasant DC as well). I’ve sampled scones far and wide but no pastry elsewhere holds a candle to these shaggy pillows of flour and butter. While I am no Paisley Fig, I do love baking bread and recently got back into the rhythm with a sourdough starter from Cultures for Health. After lovingly feeding and growing my starter for a week and building it up for use over the course of another few days, I now have a robust living culture for all my sour baking dreams. Rejoice!
I baked my first loaf last week only to realize I needed to knead it more. Edible, but not ideal. This week, I attempted their gluten-free sourdough oat and buckwheat scones – only I made it not gluten-free, probiotic and savory 🙂 Check out my adaptation below – they are delicious!

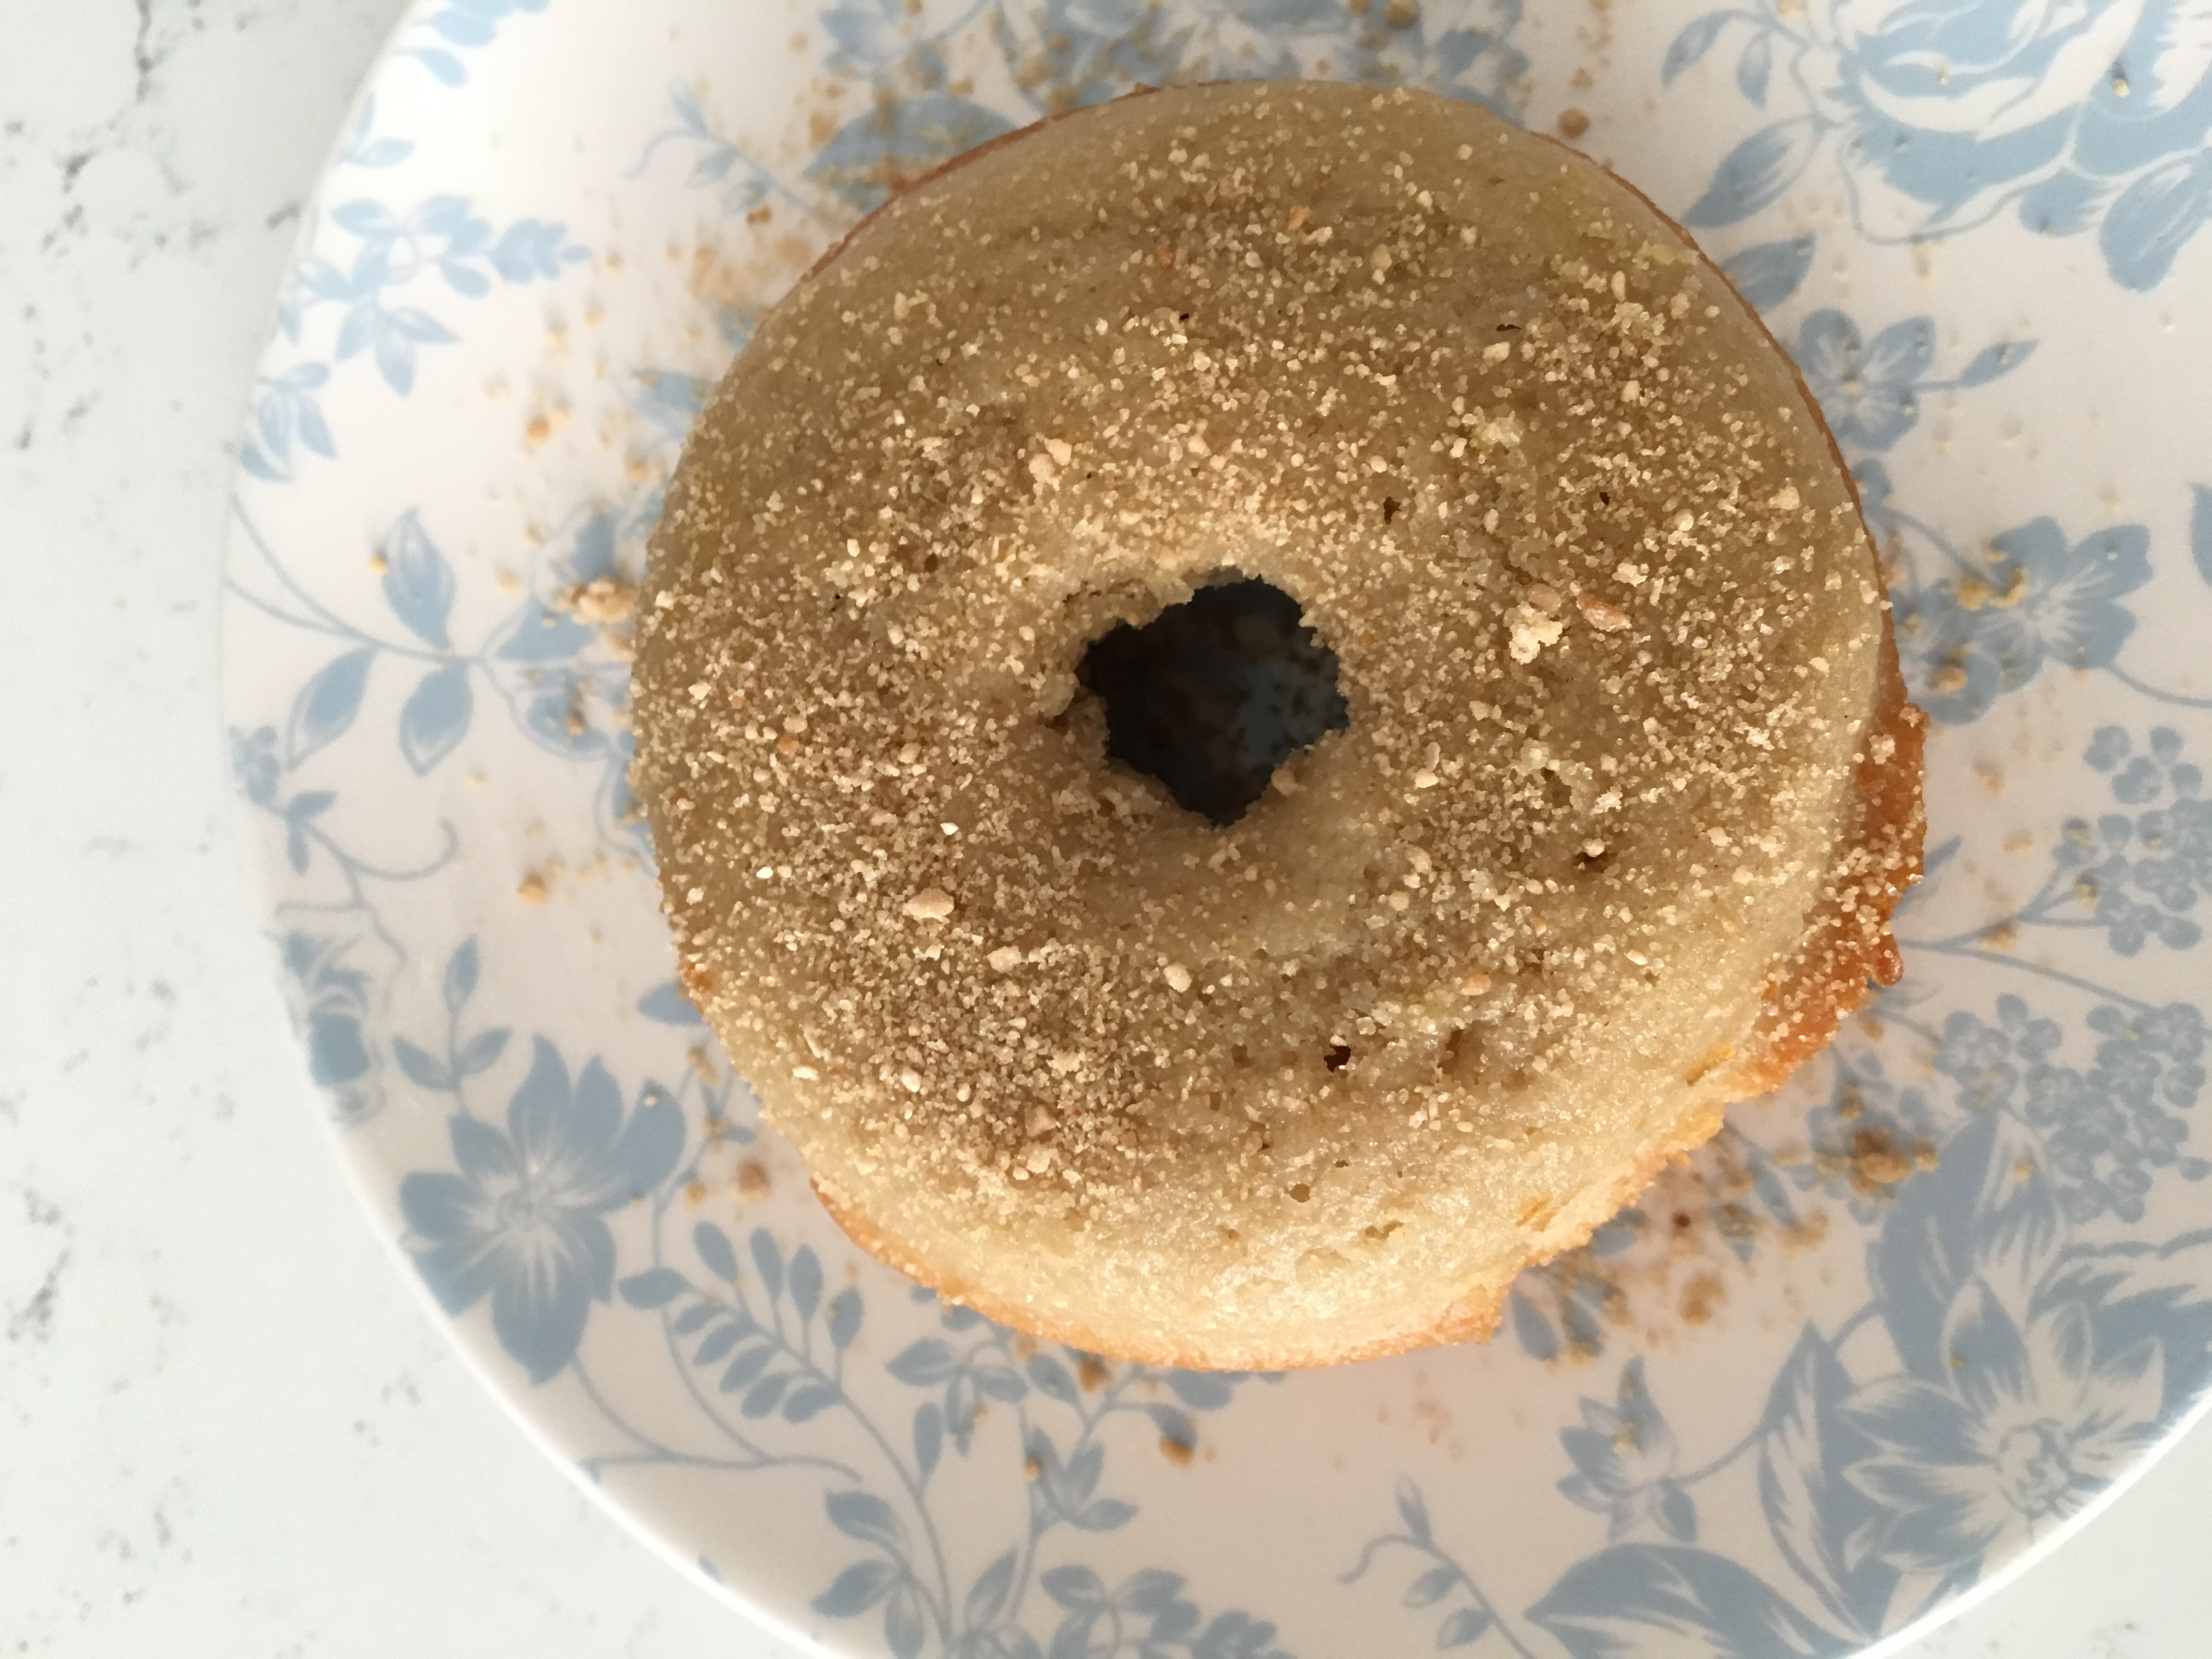
Whole Wheat Sourdough Scones with Goat Cheese and Rosemary
Ingredients
- 1/2 cup rolled oats
- 2 cups whole wheat bread flour
- 6 Tbs cold butter
- 1/2 cup sourdough starter
- 1/2 cup plain kefir (low-fat or whole milk)
- 2 eggs
- 1/2 tsp baking soda
- 1/2 tsp salt
- 2 tsp baking powder
- 4 oz goat cheese, crumbled
- 2 Tbs rosemary leaves, minced
Directions
- In a large bowl, combine oats and flour. Cut in cold butter, cubed, until flour texture becomes crumbly (note: you can use two forks, a dough blender, or pinch the butter into the flour with your fingertips). Pour in sourdough starter and kefir and mix with your hand or cutting utensils until the dough begins to come together. Knead a few times in the bowl to ensure that everything is well-mixed.
- Cover with a dry cloth and let sour 8 to 12 hours at room temperature (ideally 68-85°F).
- When ready to bake, preheat oven to 425°F.
- In a small bowl, beat eggs. In a separate small bowl combine baking soda, salt, and baking powder with a fork until well combined.
- Add the eggs and dry mixture to the soured dough and mix together, using a utensil or your hands – I like to use my hands personally. Fold in the goat cheese and rosemary until the ingredients come together well and the goodies look evenly distributed.
- Line a baking sheet. Use your hands or a large soup spoon to make shaggy triangles of dough on the prepared baking sheet. Leave at least 1 inch of space between scones. I did one baking sheet with 12 scones from this recipe, but you could definitely make them smaller and do two batches.
- Once pan is full, transfer scones to preheated oven and bake 14-16 minutes or until set on top and golden brown on the bottom. Allow to cool for a few minutes before serving or transferring to cooling rack.