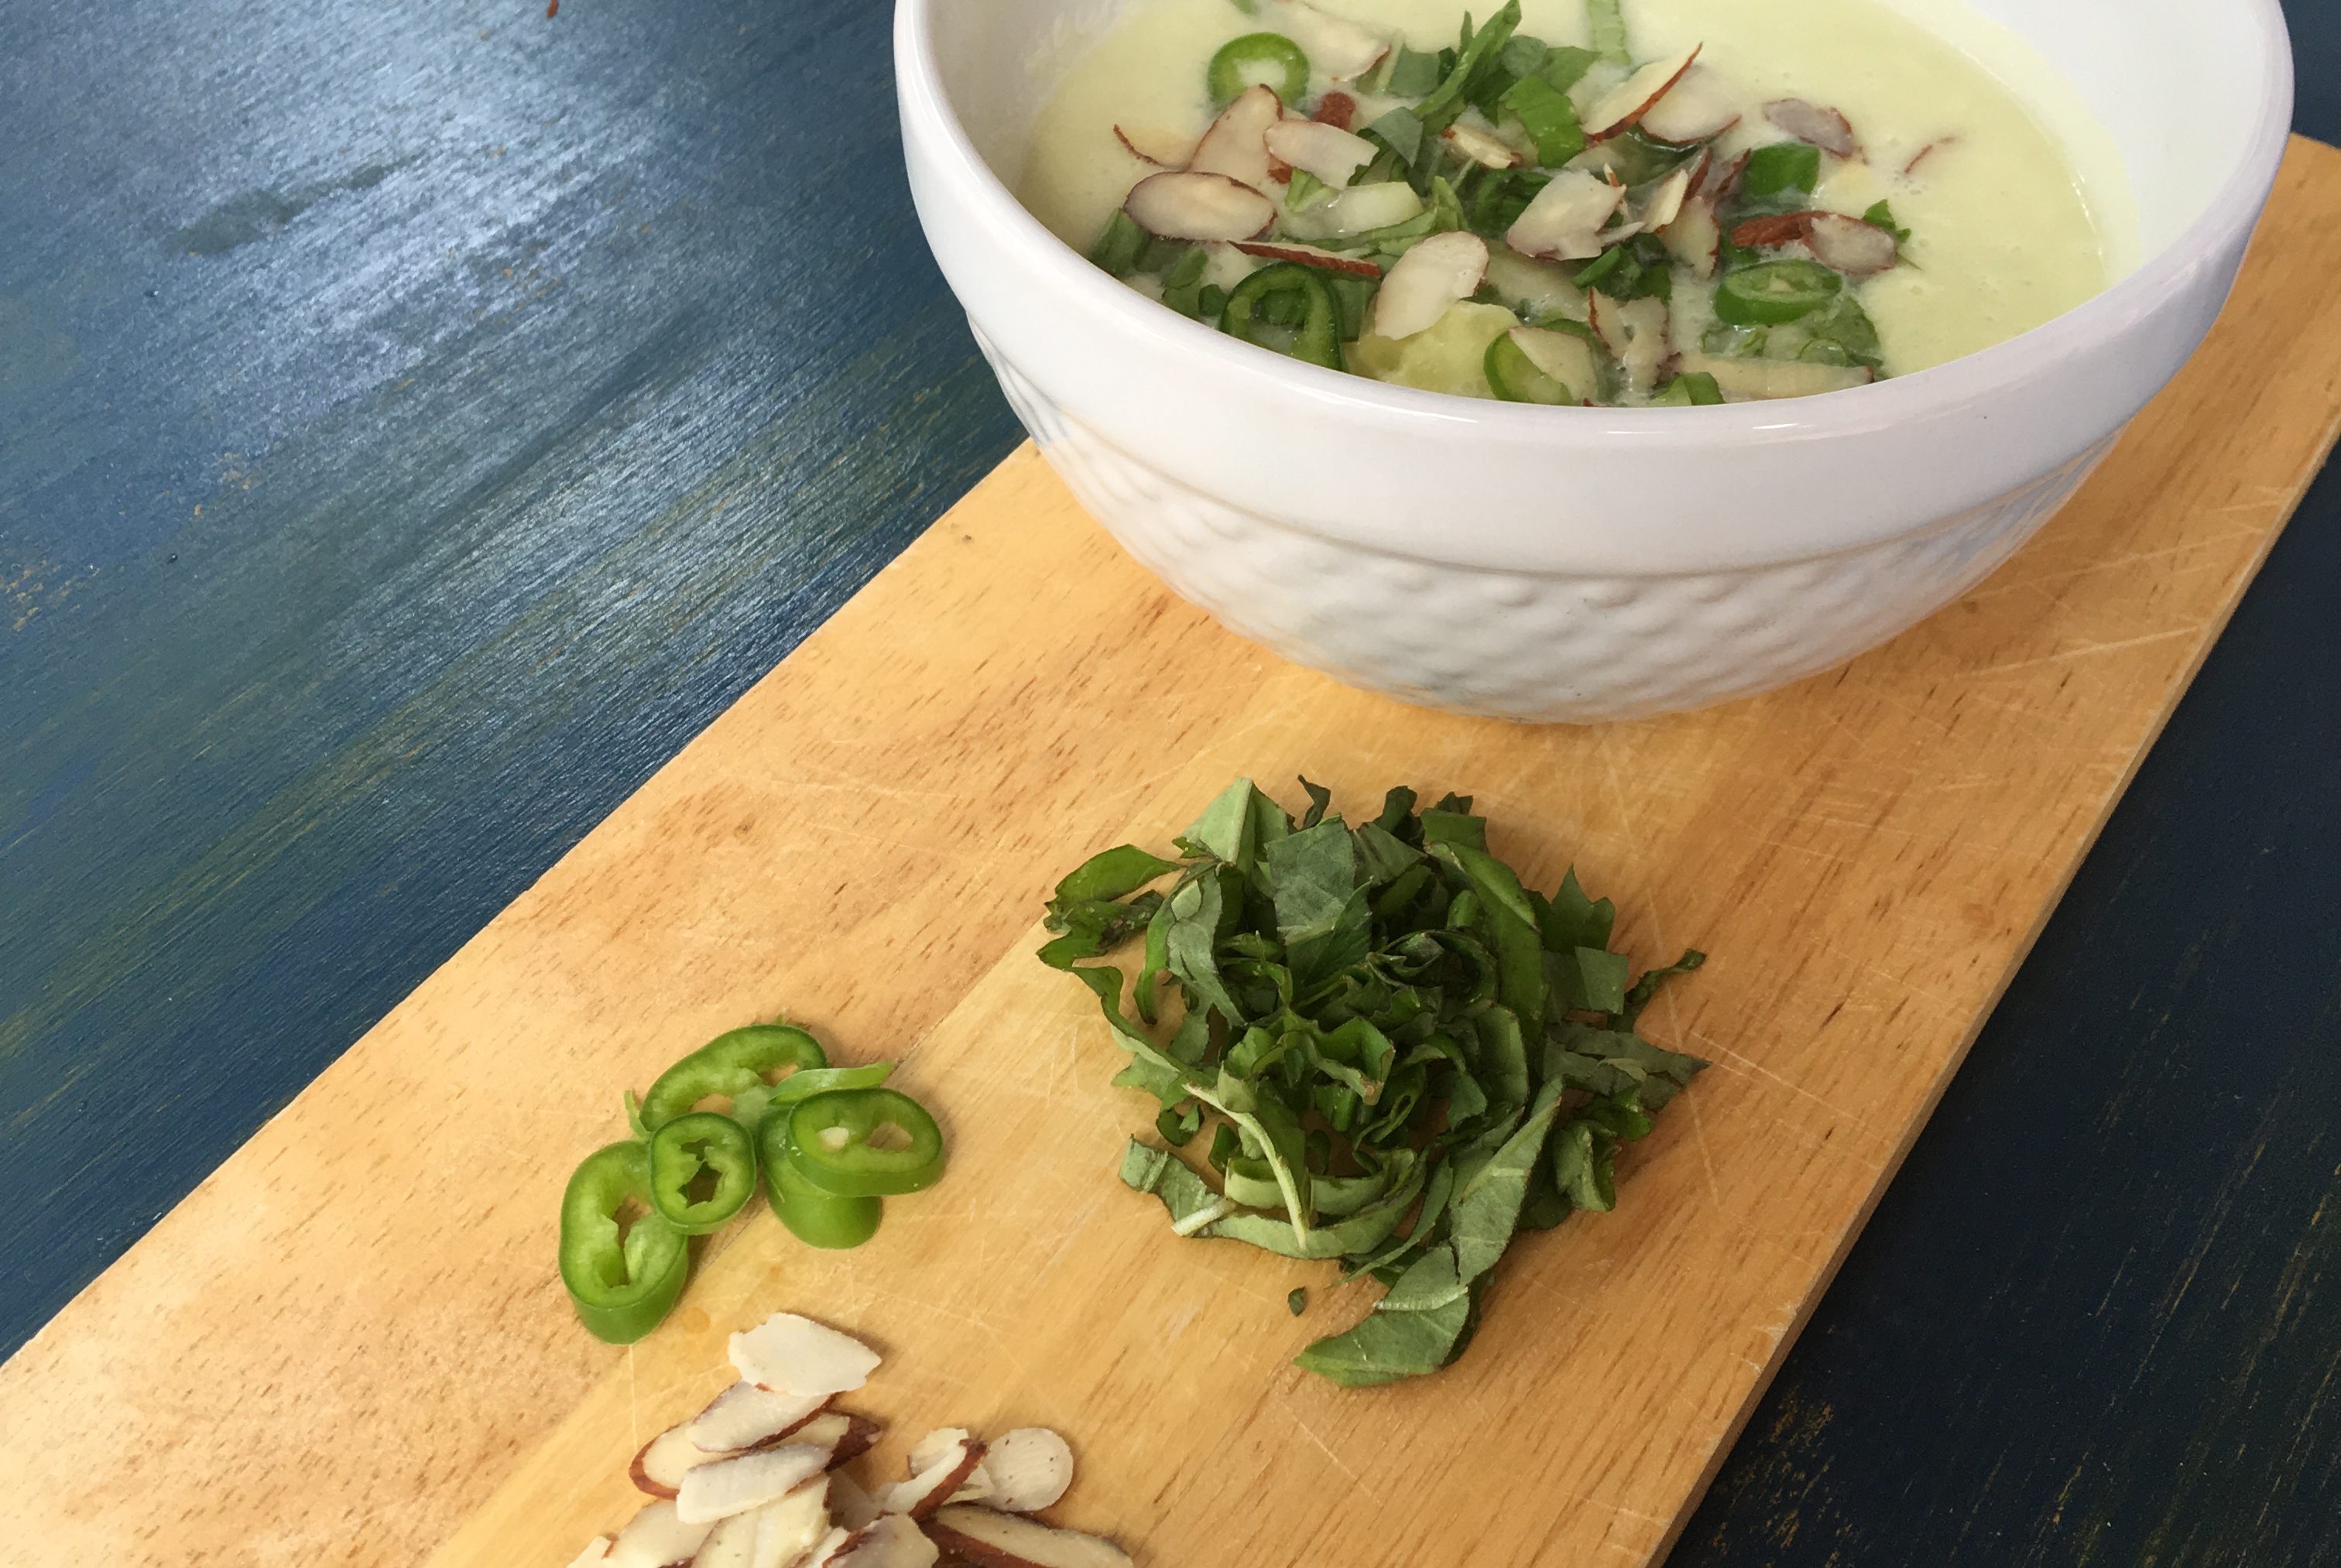
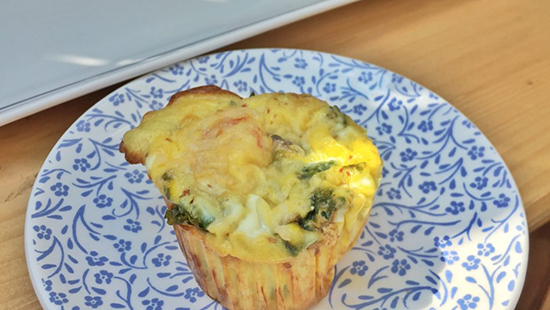
Spicy Cucumber-Kohlrabi Gazpacho (gluten-free and vegan)

Cucumber-Kohlrabi Gazpacho

You know those times when you think you’re eating something really healthy and then you realize there’s all kinds of hidden food bombs lurking within? Gazpacho might just be one of those great deceivers. It is for me!

Every time I eat a light, delicious gazpacho I forget that most of the time they contain stale bread as a thickening agent. The horror! Now, I’m not gluten-free – in fact I make my own sourdough bread every other week and eat the darn stuff daily – but I don’t like feeling duped by my soup.

In light of this sense of gastronomic justice, I experimented with using Kohlrabi – German for “cabbage turnip” – as a thickening agent…and it worked!

Kohlrabi is not a root vegetable but in fact a member of the brassica family – along with brussels sprouts, broccoli and cauliflower. It grows above ground and is loaded with minerals like copper, potassium, manganese, iron, and calcium, as well as vitamins, such as vitamin C, B-complex vitamins, vitamin A, and vitamin K. It’s flavor  is – in my opinion – unremarkable. So, dress it up in cucumber and spice and let’s call it a day!
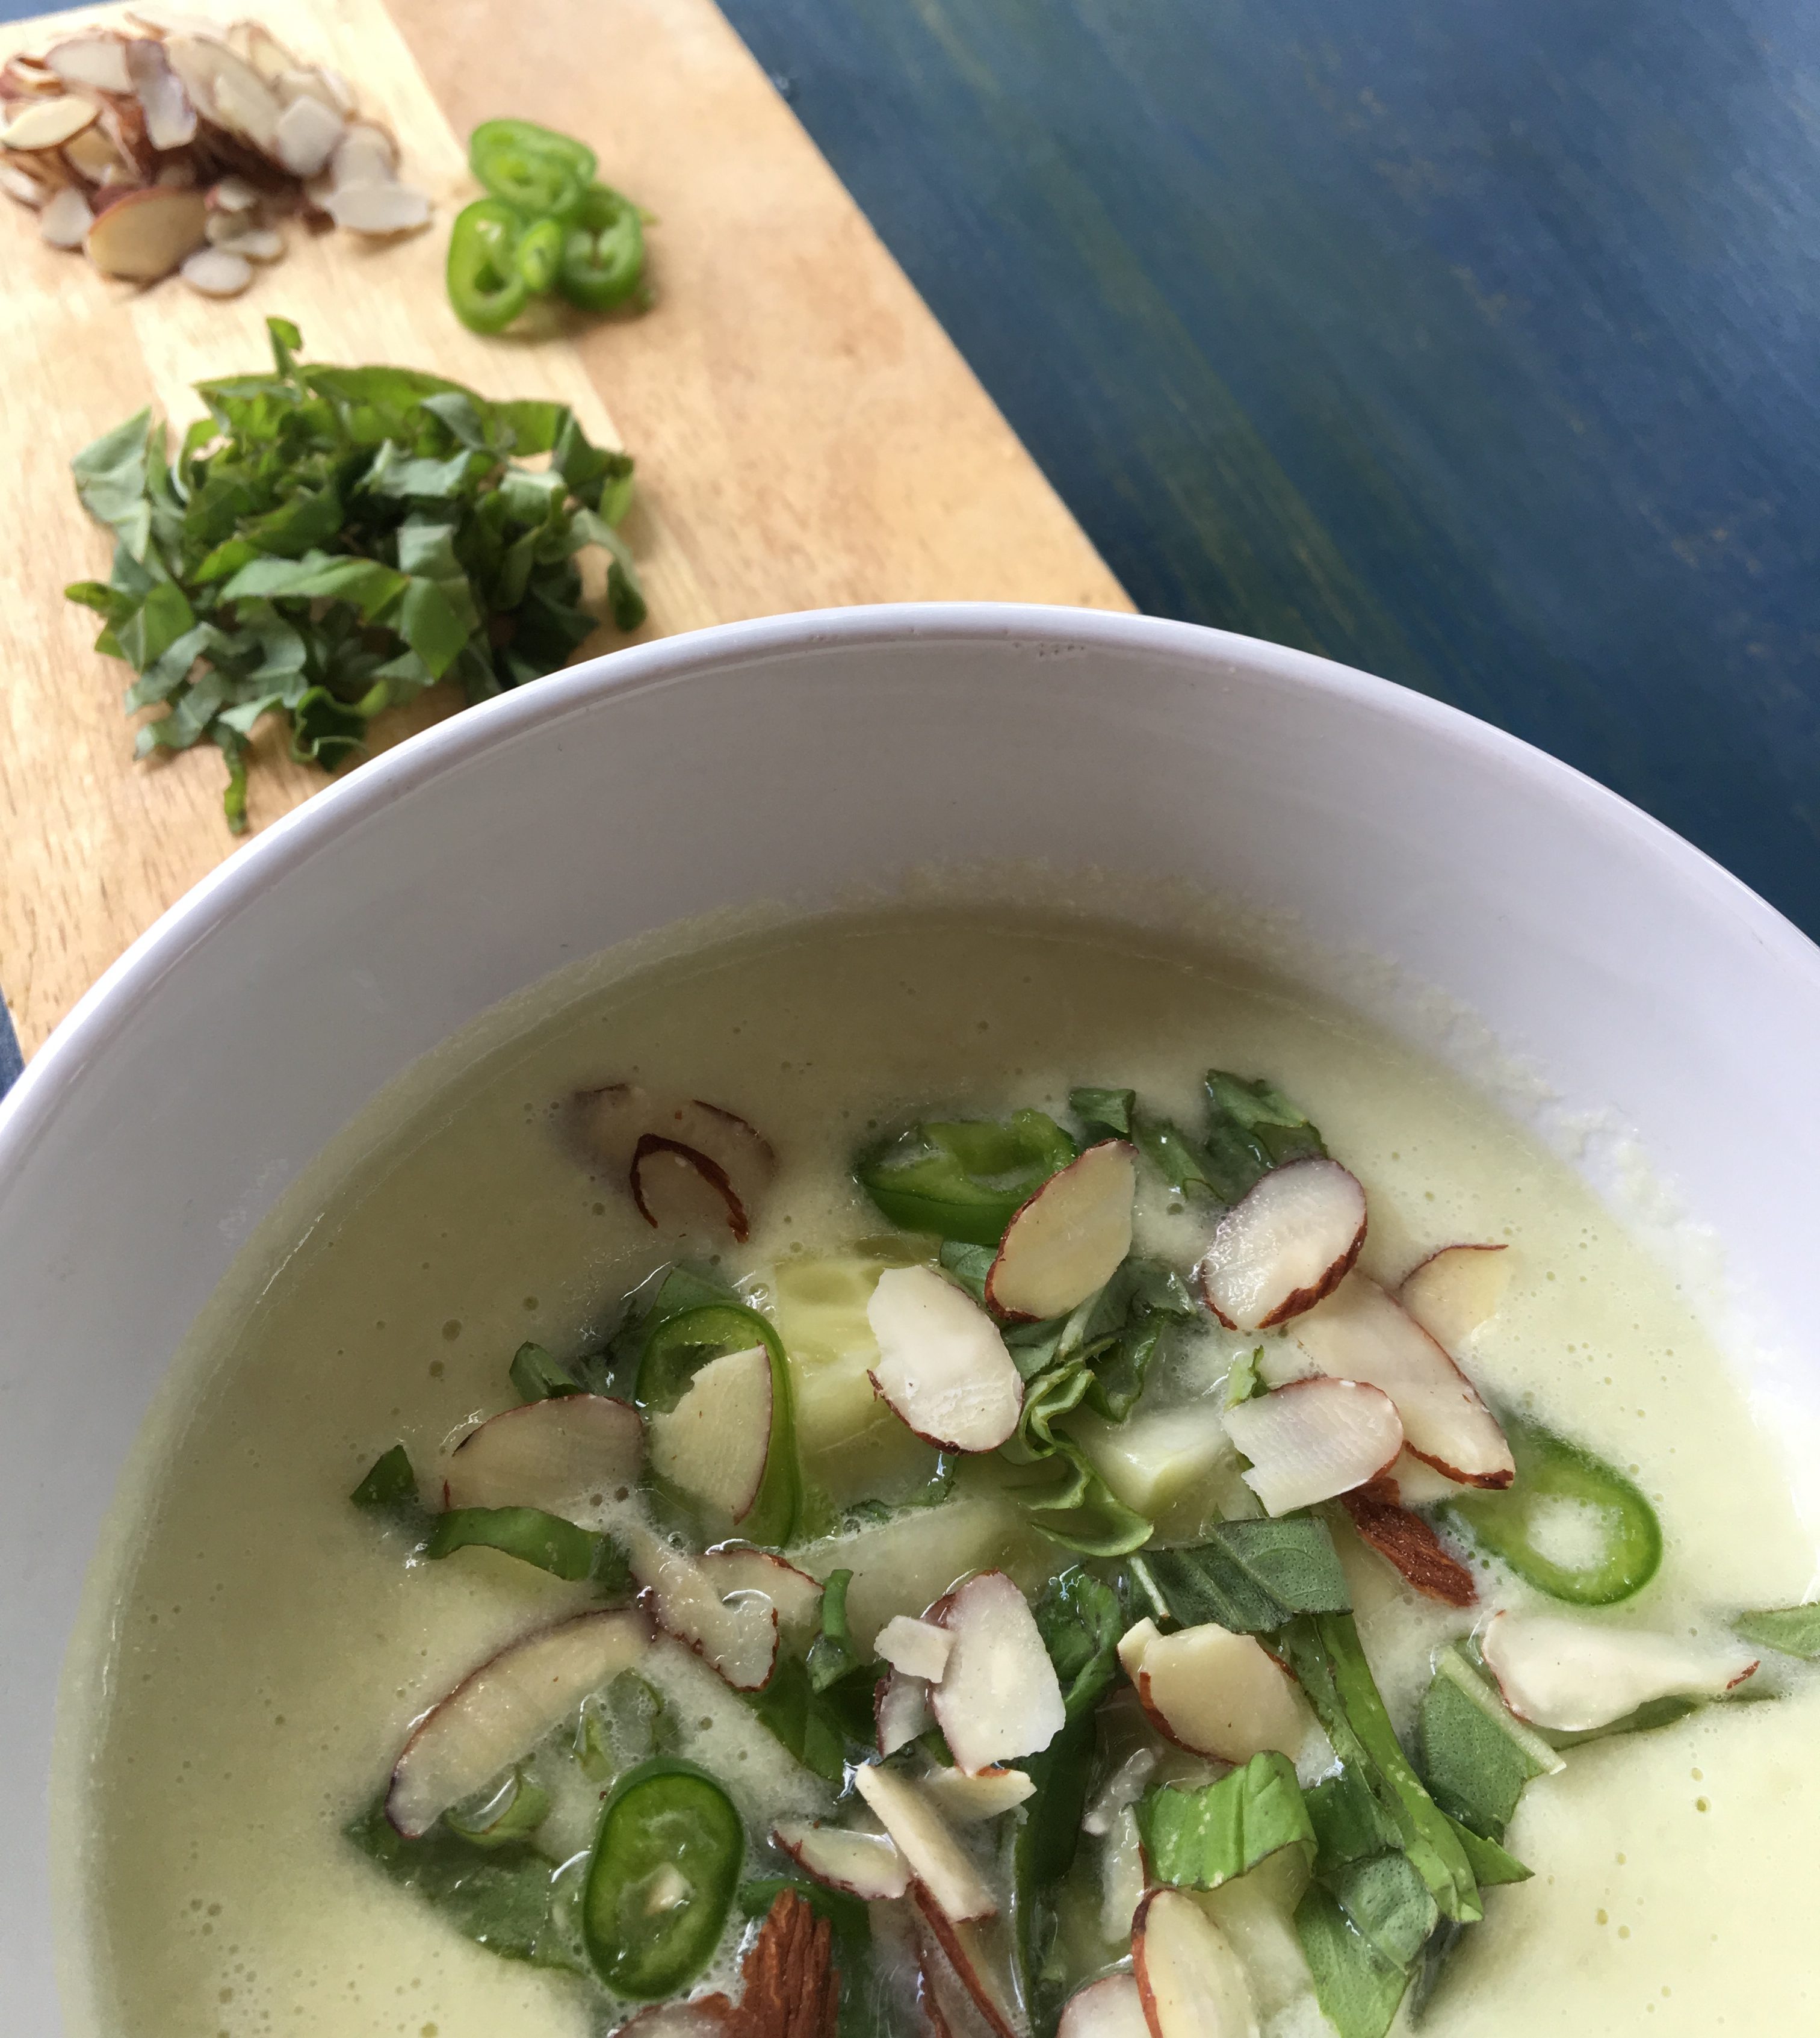
Move Well DC - Cucumber Kohlrabi Gazpacho

Spicy Cucumber Kohlrabi Gazpacho

{Makes 4 servings.}

Ingredients:

  • 1 bulb of kohlrabi
  • 2 large organic cucumbers
  • 1 1/2 cups unsweetened plain almond milk
  • 1 serrano chile
  • 1 Tbs champagne vinegar (or rice vinegar)
  • 1/4 cup good olive oil
  • Juice of 2 limes (plus the zest of 1)
  • 1 large clove of garlic
  • Sea salt and pepper to taste
  • 1/2 cup toasted slivered almonds (for garnish)
  • 1/2 cup basil (for garnish)


Directions:

  1. PREP: Trim, peel and roughly chop the kohlrabi and cucumbers. Set aside a half a cup of the cucumbers and chop that portion into small cubes. Seed and halve the serrano. Set aside one half and slice thinly for garnish later. Peel the garlic. Cut the basil into small ribbons and set aside for garnish later.
  2. ASSEMBLE: Place all ingredients except the slivered almonds and cucumber, serrano and basil you have set asside for garnish in a high-speed blender. Purée until smooth (note: if you have an older blender you may need to strain the gazpacho with a skimmer or mesh bag to eliminate inconsistencies in texture).
  3. SET: Pour into an airtight container and refrigerate for at least an hour (or up to overnight!) before serve to allow the flavors to meld (note: it will get spicier with time).
  4. SERVE: Place 2 Tbs of cubed cucumber in each bowl and ladle gazpacho on top. Garnish with 2 Tbs of basil ribbons, 2 Tbs of slivered almonds and serrano slices to taste. Drizzle a little extra olive oil and dust with freshly ground black pepper for even more taste impact.


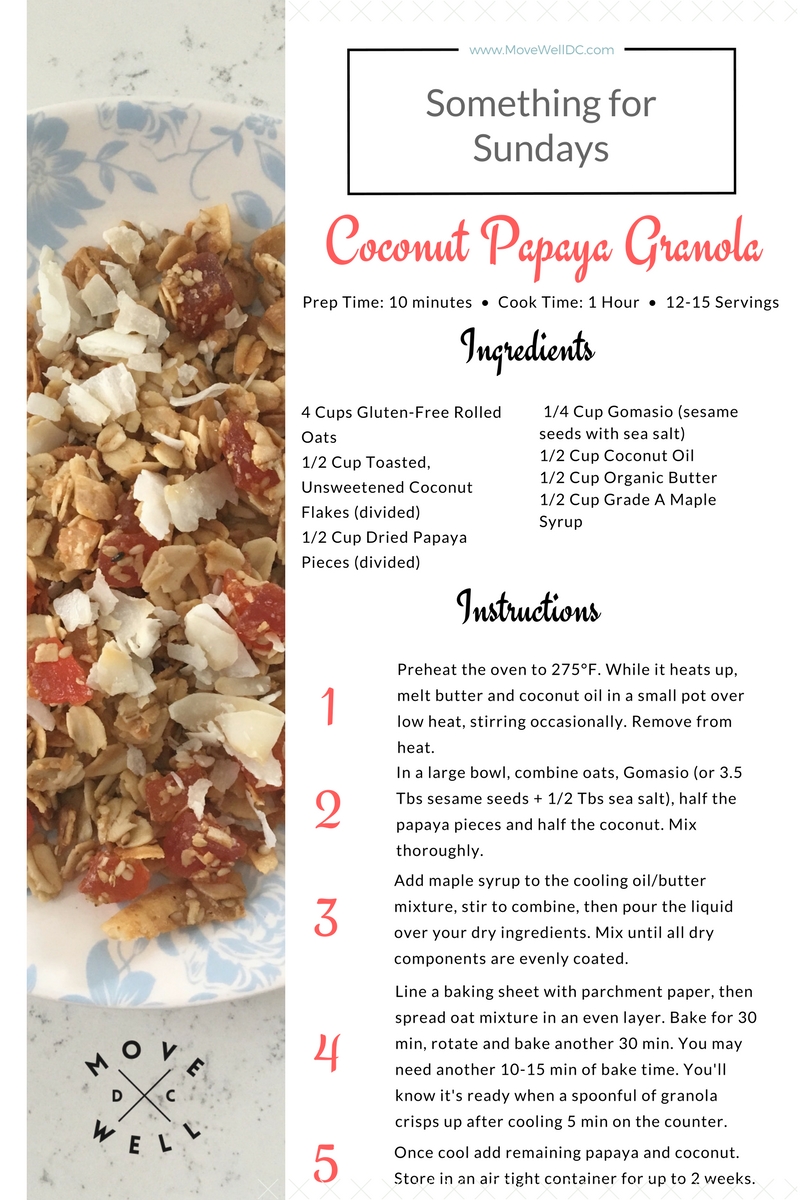
Something for Sundays: Papaya Coconut Granola

Work weeks are hectic and weekends are no longer for rest – at least that’s the way I’m feeling these days. In an effort to fit it all in we have less and less time for essentials like sleep, feeding ourselves and down time. What would happen if we all set aside just a few hours, once a weekend, to stay in, read a book, make some food and just plain relax?

Big batch recipes are a great use of our limited down time – good bang for your (time) buck! With that in mind, I’m launching a new series on my blog “Something for Sundays” to provide big batch recipe ideas that will help you maximize your relaxation time. You may have to hang around the house – dare I suggest, read a book, watch a movie, or listen to a podcast – but you won’t have to be too hands on with these recipes. First up…

Move Well DC Papaya Coconut Granola Recipe


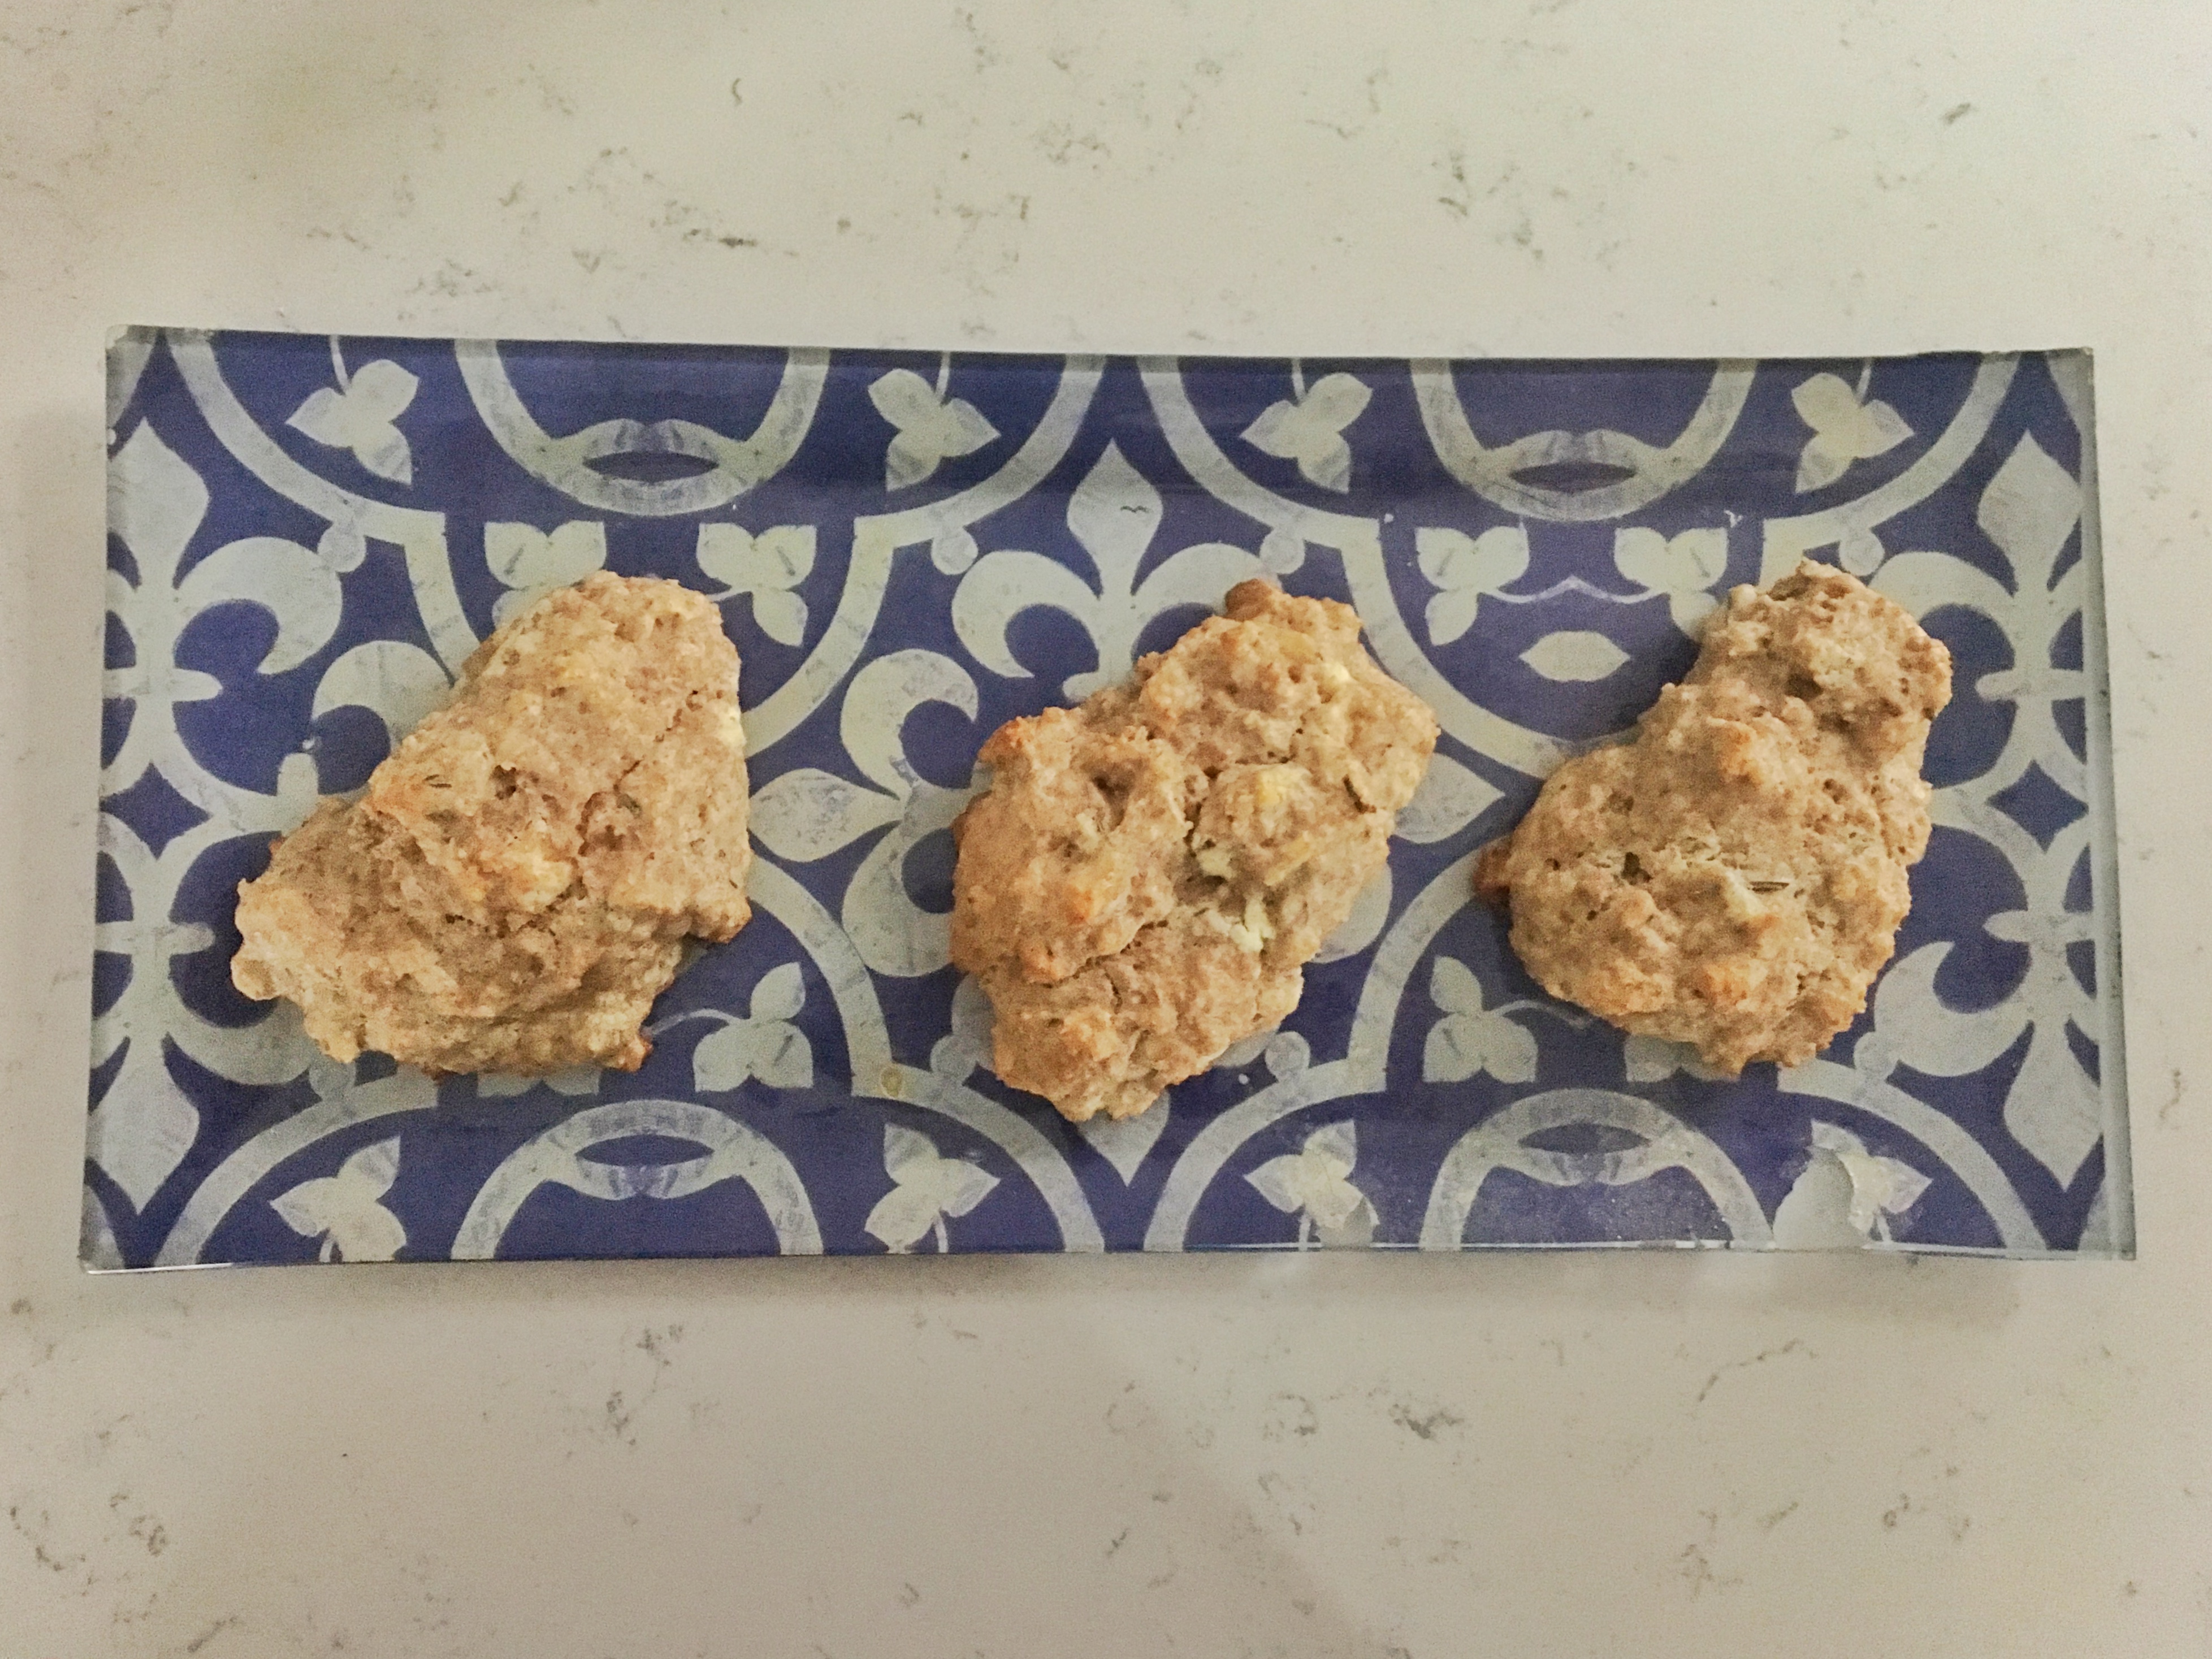
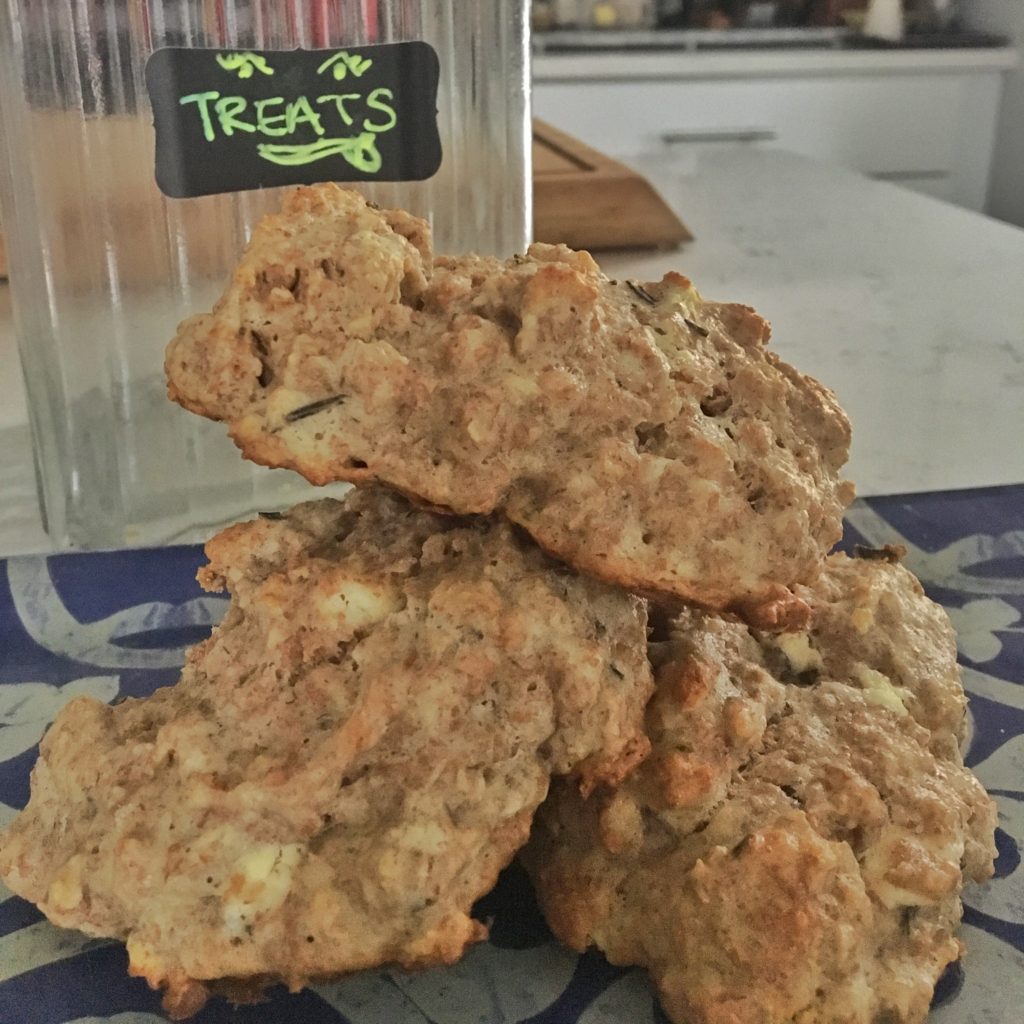
Whole Wheat Sourdough Scones with Goat Cheese and Rosemary

Whole Wheat Sourdough Scones with Goat Cheese and Rosemary

I am a superfan of Paisley Fig‘s scones at Room 11 (soon to have its own storefront in Mt. Pleasant DC as well). I’ve sampled scones far and wide but no pastry elsewhere holds a candle to these shaggy pillows of flour and butter. While I am no Paisley Fig, I do love baking bread and recently got back into the rhythm with a sourdough starter from Cultures for Health. After lovingly feeding and growing my starter for a week and building it up for use over the course of another few days, I now have a robust living culture for all my sour baking dreams. Rejoice!

I baked my first loaf last week only to realize I needed to knead it more. Edible, but not ideal. This week, I attempted their gluten-free sourdough oat and buckwheat scones – only I made it not gluten-free, probiotic and savory 🙂 Check out my adaptation below – they are delicious!


Whole Wheat Sourdough Scones with Goat Cheese and Rosemary

Whole Wheat Sourdough Scones with Goat Cheese and Rosemary

Ingredients

  • 1/2 cup rolled oats
  • 2 cups whole wheat bread flour
  • 6 Tbs cold butter
  • 1/2 cup sourdough starter
  • 1/2 cup plain kefir (low-fat or whole milk)
  • 2 eggs
  • 1/2 tsp baking soda
  • 1/2 tsp salt
  • 2 tsp baking powder
  • 4 oz goat cheese, crumbled
  • 2 Tbs rosemary leaves, minced

Directions

  1. In a large bowl, combine oats and flour. Cut in cold butter, cubed, until flour texture becomes crumbly (note: you can use two forks, a dough blender, or pinch the butter into the flour with your fingertips). Pour in sourdough starter and kefir and mix with your hand or cutting utensils until the dough begins to come together. Knead a few times in the bowl to ensure that everything is well-mixed.
  2. Cover with a dry cloth and let sour 8 to 12 hours at room temperature (ideally 68-85°F).
  3. When ready to bake, preheat oven to 425°F.
  4. In a small bowl, beat eggs. In a separate small bowl combine baking soda, salt, and baking powder with a fork until well combined.
  5. Add the eggs and dry mixture to the soured dough and mix together, using a utensil or your hands – I like to use my hands personally. Fold in the goat cheese and rosemary until  the ingredients come together well and the goodies look evenly distributed.
  6. Line a baking sheet. Use your hands or a large soup spoon to make shaggy triangles of dough on the prepared baking sheet. Leave at least 1 inch of space between scones. I did one baking sheet with 12 scones from this recipe, but you could definitely make them smaller and do two batches.
  7. Once pan is full, transfer scones to preheated oven and bake 14-16 minutes or until set on top and golden brown on the bottom. Allow to cool for a few minutes before serving or transferring to cooling rack.

Spicy Mango-Coconut Popsicles

We live in a world addicted to sugar, it’s true, but going cold turkey doesn’t always work out so well. Deprivation can lead to yo-yo eating patterns, which won’t help you sustain your long-term healthy eating goals. A better approach that I often help my wellness clients take is making healthier versions of your favorite meals.

Dessert, while not the most essential of meals, is nonetheless an important food ritual many of us enjoy – and hey, life is best when enjoyed! One of my favorite challenges is finding ways to make sweets better for you without tasting like sawdust or bland ice.

IMG_6433 2

With that in mind, I recently experimented with  a Mango Coconut Popsicle recipe, spiced with ginger. Ginger is a superfood linked to relieving nausea, inflammation, pain and a whole host of digestive issues. I also threw some turmeric in there because, well, why not? It too has anti-inflammatory properties and might help your skin and joints look and feel their best.

This fast and tasty recipe is guilt-free and impossible to mess up. Bonus: any leftovers that won’t fit in your molds can be enjoyed on the spot as a healthy smoothie. Enjoy!

IMG_6431 2


Spicy Mango-Coconut Popsicles

Servings: 6-8 popsicles


Ingredients:

  • 1 1/2 cups frozen mango
  • 1/2 very ripe banana
  • 1” fresh ginger, peeled
  • 1/2” fresh turmeric, scrubbed
  • 1/2 cup whole fat plain yogurt
  • 1/3 cup toasted coconut flakes
  • 8 oz unsweetened almond milk


Directions:

  1. Blend ingredients in a high-speed blender for 1 minute or until smooth.
  2. Pour into popsicle molds leaving about a 1/4” at the top. Any leftovers can be consumed like a smoothie – yum!
  3. Freeze for at least 3 hours, but ideally overnight.

Big Batch Breakfast (Part Deux): Healthy Veggie & Cheese Egg Muffins
Breakfast just got a whole lot easier. If you’re on the go as much as I am, it always pays off to spend a little extra time over the weekend to prepare some grab-and-go meals that will keep your full and focused throughout the week no matter what calendar cluster-Fs may arise.

For the past two weeks I’ve been making a big batch of healthy egg muffins on Sunday afternoosn, switching up the vegetables and accoutrements to keep things interesting. Below you’ll find my current favorite, but you can check my Instagram account for a recipe with asparagus, summer corn, and grape tomatoes. You can’t go wrong with either!

Healthy Baked Egg MuffinsBig Batch Breakfast (Part Deux): Healthy Veggie & Cheese Egg Muffins
Makes 12 egg muffins, or 6 servings.

Ingredients:

  • Butter, coconut oil or nonstick cooking spray, to coat pans – or, use silicone baking cups
  • 8 large eggs
  • Splash of milk (can use nut milk if preferred)
  • Generous pinch of sea salt and ground pepper
  • 2 sprigs of fresh thyme, de-stemmed and minced
  • 2 tsp olive oil
  • 2 cups kale, cut into thin ribbons
  • 1/2 cup sweet & spicy cherry peppers
  • 1/2 large red onion, finely chopped
  • 1 clove of garlic, minced
  • 3/4 – 1 cup shredded parmesan

Directions:

  1. Preheat the oven to 350°F.
  2. Crack eggs into a large bowl and whisk with the milk, thyme, salt and pepper.
  3. Grease a 12-cup muffin pan as desired.
  4. Sauté red onion in olive oil for 5 minutes over medium-high heat with a pinch of salt. Add kale, sweet and spicy pepper, and garlic and sauté another 5-7 minutes.
  5. Divide veggie mixture and cheese between each muffin cup, then carefully pour eggs in until muffin tins are almost full – leaving about a 1/4-inch space.
  6. Bake for 20-25 minutes or until a wooden pick inserted in the center of a muffin comes out clean. The egg muffins will look like soufflé when they come out of the oven, but they will sink after a few minutes. Let them cool for a few minutes before using a rubber spatula to carefully remove each muffin.

Notes:

  1. Adapted from Popsugar.
  2. You can consume these immediately or let them cool, then transfer to a resealable plastic bag. They’ll refrigerate well for up to a week or freeze for up to three months.


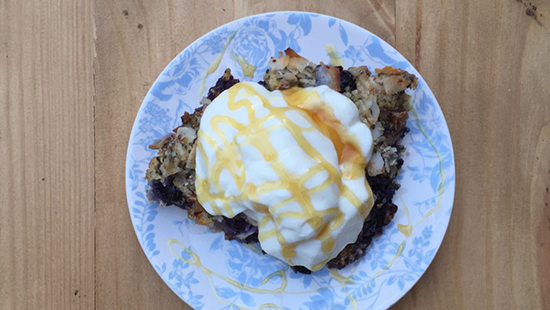
Big Batch Breakfast: Blueberry Coconut Baked Oatmeal

Let’s face it, oatmeal can get pretty boring, but oats are so good for you – loaded with heart-healthy fiber and minerals. What to do?! Get baked. Err, get baking!

My baked oatmeal is super easy, cost-effective, and since it’s a big batch recipe you’ll be set for breakfast all week. Convenience – check! Taste – check! Healthy – check!

Plate of Blueberry Coconut Baked Oatmeal

Even if you don’t typically dig oatmeal, give this method a try. It changes the texture and fuses the flavors so you might just feel like you’re eating dessert, all the while you’re fueling yourself with clean energy for an active day. And best of all, there’s no added sugar so there’s no guilt with this breakfast decadence.

Go on, shake up your morning meal. It’s good to the last bite!


Blueberry Coconut Baked Oatmeal

Prep time: 10 mins Cook time: 40 mins Total time: 50 mins
Serves: 8 servings

Ingredients:

  • 1/2 cup roasted, unsalted pecan pieces
  • 1/2 cup toasted, unweetened coconut flakes
  • 1/2 cup hulled hemp seeds
  • 1/4 cup chia seeds
  • 2 1/2 cups old-fashioned oats
  • 1 Tbs ground cinnamon
  • A pinch of fine-grain sea salt
  • 2 cups fresh blueberries (frozen will work too – just defrost and discard any liquid)
  • 2 1/2 cups unsweetened almond milk
  • 2 large eggs
  • 2 Tbs melted coconut oil
  • 1 tsp vanilla extract
  • Optional toppings for serving: plain yogurt, maple syrup or honey for drizzling, and/or more fresh fruit

Directions:

  1. Preheat the oven to 375 degrees. Grease a 9×13-inch rectangular baking dish with butter or coconut oil.
  2. In a medium mixing bowl, combine the oats, nuts, coconut flakes, hemp seeds, chia seeds, cinnamon and salt. Whisk to combine.
  3. In a smaller mixing bowl, combine the almond milk, eggs, coconut oil and vanilla. Whisk until blended.
  4. Spread the berries evenly over the bottom of the baking dish then cover the fruit with the dry oat mixture. Drizzle the wet ingredients over the oats. Use a spatula in zig-zagging strokes across the surface of the wetted oats to smooth out the top and push any dry oats down.
  5. Bake for approximately 45 minutes, or until the top is golden (not burnt!). Remove your baked oatmeal from the oven and let it cool for a few minutes before cutting and serving.
  6. Serve with yogurt and a drizzle of honey for a more decadent and delicious breakfast experience!

Notes:

  1. This recipe will keep well in the refrigerator for up to 7 days.
  2. Recipe adapted from Cookie & Kate.

Rosewater Raspberry Gluten-Free Scones

I highly recommend taking a long weekend with friends, yummy food, and outdoor walks in the sunshine; and without a computer or to do list. Like highly recommend it. I recently did just this up in NYC with some of my dearest girl friends with whom (is that proper grammar??) I studied abroad nearly 10 years ago. Damn, the years are flying by! Anyways…


We had a ball! Despite bopping around a bunch like an itinerant little gypsy, the weekend wasn’t stressful at all. Leaving my computer at home certainly helped, but mostly it was my lack of an agenda – something I struggle to let go of in my daily DC grind – that created space and time to do everything I needed and wanted with flexibility and a sense of ease.


Here are some highlights…


On Saturday, I went to the Union Square Famers Market (amazing) and gawked at peonies the size of my face and farm-fresh eggs that looked like the most beautiful golden nuggets I’ve ever seen. I would have stayed there the whole day if it weren’t for the sweltering heat and sweaty mess I had quickly become.


IMG_5245

IMG_5242


Sunday, was a day filled with jamm, which means “peace” in Wolof, Senegal’s native tongue. The girls and I throw that word around a lot when we’re together since Dakar was our study abroad destination and jamm was our main objective while there.


All day I was surrounded by these four mighty and magnificent women who inspire, nurture and love me to no end. How lucky am I? Together, we made a version of the gluten-free scones you’ll see below as well as some delicious frittatas.


Food is always best when made with love and enjoyed in good company. All of that was abundant and then some. We gabbed for hours while dining al fresco on a Brooklyn co-op rooftop. Heaven on earth.


IMG_5301


I rounded out the weekend spending time with one of my other very best friends from childhood, Court. Actually, let’s call her my sister. Much more appropriate for our bond. We’ve known each other since age four and no matter how long we go in between visits, it feels like we’ve never skipped a beat.


While waiting for her arrival at an amazing Jewish Deli somewhere in lower Manhattan, I decided to express my joy for a weekend well spent with a little urban hand-standing. What else is a yogi to do?


IMG_5265


I could regal you with all the mundane details of what made that weekend so magical in my mind, but instead I’ll simply suggest you try out these Rosewater Raspberry Scones and taste for yourself some of the love and jamm I brought back with me from NYC.


IMG_5305

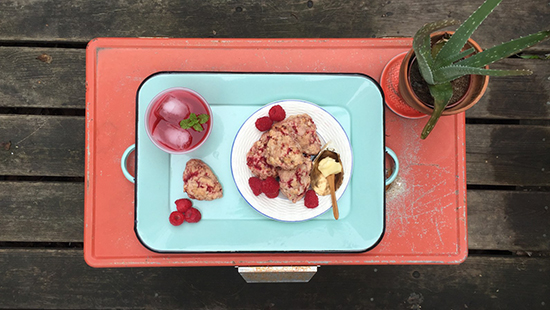
Rosewater Raspberry Gluten-Free Scones

Makes ~16  2 1/2-3″ scones.
Ingredients:
  • 2 1/2 cups Bob’s Red Mill Gluten-Free Biscuit Mix
  • 1/2 cup Gluten-Free Rolled Oats
    3/4 cup 2% or Whole Milk (note: you can substitute 1/2 cup unsweetened almond milk + 1/4 cup plain coconut milk yogurt to make this vegan)
  • 10 Tbs butter, cold and cubed
  • 1/4 cup Rosewater
  • 1 large egg
  • 1/3 cup cane sugar
  • Zest of one lemon
  • 1 1/2 cups fresh raspberries
  • Optional: 2-3 Tbs Milk for basting
  • Optional: sprinkle of corse sea salt

Directions:

  1. Preheat oven to 350 degrees Fahrenheit.
  2. Combine dry ingredients in a large bowl. Blend with butter cubes using a pastry cutter. You can also use your finger to pinch the butter into the flour mixture if you don’t have one.
  3. In a separate smaller bowl, whisk together milk, egg, rosewater, zest and sugar.
  4. Combine the wet and dry ingredients in the larger of the two bowls. Knead with your hands until dough is combined. It may be a bit chunky/flaky, but that’s good for scones.
  5. Fold in raspberries until evenly distributed.
  6. Shape into small round disks, approximate 2 – 2 1/2″ in diameter. Place on a lined baking sheet 1″ apart.
  7. Baste raw biscuits with a smear of milk, then sprinkle lightly with corse sea salt.
  8. Bake at 350 degrees for 22-26 min, or until the tops turn golden and a toothpick comes out clean.

End of Summer Gazpacho

After a very warm September, many of us still have access to garden-grown or at least farm-fresh vegetables. If you are one of the lucky ducks who can get their hands on plump, sweet tomatoes and other fruits of Mother Nature, the best way to use them is in their most unadulterated form possible. I like to call this kind of simple food preparation embracing the raw beauty of produce. Good food doesn’t need much applied effort to taste amazing.

IMG_1918 2

This End of Summer Garden Gazpacho is as delicious as it is easy. It takes less that 15 minutes to make from start to finish (though it does require refrigerator time). Pair it with my Homemade Multigrain Bread or a side of my Warm Chickpea and Sweet Potato Salad for a well-rounded, clean meal to keep you healthy this fall.

IMG_1724

End of Summer Gazpacho

Ingredients:

  • 8 medium or 5 large ripe tomatoes, halved and cored
  • 3 medium cloves of garlic
  • 1 organic cucumber, peeled and roughly chopped
  • 1 red bell pepper
  • 1 sweet onion
  • 1 jalapeno, seeds removed
  • 3-4 Tbs red wine vinegar
  • 3-4 Tbs olive oil, divided
  • Juice and zest of one lemon
  • Salt and pepper to taste

Directions:

  1. Squeeze tomatoes into a blender then dump in the remaining meat.
  2. Add the rest of the vegetables, vinegar, half the olive oil and salt and pepper to taste—remembering you can always add more but can’t subtract!
  3. Refrigerate for several hours or better yet overnight to help develop the flavors.
  4. Service with a drizzle of olive oil and fresh basil, parsley, cilantro or chives!

Strawberry Rhubarb Pie (Gluten-Free)

This summer, why not wow dinner and BBQ guests with a healthier than average dessert featuring fresh, seasonal ingredients? Strawberry Rhubarb Pie is a summer classic, perfect for any party.


I bet you can’t guess my favorite aspect of this sweet treat: it’s loaded with a nutrient-dense vegetable! Okay, so maybe you could have guessed I would like that part.

IMG_0987

Rhubarb is a surprising source of calcium–just one cup has 10% of your RDA–and beauty-boosting nutrients like lutein, vitamin K, and antioxidants. Who doesn’t need a little extra help with healthy skin in the summer? All that heat, humidity, and sunshine can do a number on our most exposed organ.

Ok, first, please drool over this picture then scroll down for the recipe…

IMG_0991

Strawberry Rhubarb Pie

Ingredients

  • Gluten-Free Pie Crust
  • 1 pint strawberries
  • 4-5 stalks rhubarb
  • 1/2 cup raw cane sugar
  • 1/4 cup arrowroot powder
  • Splash of sweet vinegar (white balsamic or fruit-flavored of choice)
  • 1/2 tsp sea salt

Directions:

  1. Prepare one Gluten-Free Pie Crust (or cheat a little and get one pre-made).
  2. Pre-heat oven to 425 F.
  3. Wash and cut strawberries and rhubarb into bite-sized pieces. Place in a large bowl and mix with sugar, arrowroot (or cornstarch if you aren’t gluten-free), vinegar, and salt. Mix thoroughly and let sit for 15 minutes.
  4. Press pie crust into your favorite nonstick tart or pie dish. Fill crust with fruit and vegetable mixture, spreading evenly.
  5. Bake at 425 F for 30 min then reduce to 350 F and bake another 20-25 minutes or until crust edges are golden brown.

Top with a scoop of your favorite ice cream. I went with Moorenko‘s creamy, delicious Vanilla Bean variety. YUM-E.

Peanut Butter Cashew Coconut Granola


Oh boy, it’s here! Another gluten-free granola recipe for you. All of my others have had very fall-like flavor profiles (pumpkin and sweet potato) but it’s time for spring y’all. Not that peanut butter and cashews exactly scream spring like asparagus and artichokes do, but they’re tasty year-round so just enjoy.

MOARfit by Amy Rizzotto Peanut Butter Granola

This yummy, crunchy, savory-sweet granola is great fuel  before a workout. Grab a small handful about 30-45 minutes prior to heading out the door. After a sweat session, top 3/4 cup low-fat plain greek yogurt with 1/4 cup granola and half an apple chopped for a well-balanced recovery meal. Add an extra dash of cinnamon for a more heart-healthy edge!

MOARfit by Amy Rizzotto Peanut Butter Granola


Peanut Butter Cashew Coconut Granola

What You’ll Need:

  • 5 cups gluten-free rolled oats
  • 1 cup raw cashew pieces
  • 1 cup unsweetened shaved coconut
  • 1/2 cup coconut oil (liquid or melted)
  • 3/4 cup all-natural peanut butter
  • 3/4 cup maple syrup or honey
  • 1 Tbs vanilla extract or 1 vanilla bean scraped
  • Optional: 1 cup chopped dried Turkish apricots

How to Make It:

  1. Preheat the oven to 300°F
  2. In a large bowl, mix together the oats, cashews, and coconut.
  3. In a blender, blend together the coconut oil, peanut butter, maple syrup, vanilla, and cinnamon until smooth.
  4. Pour blender mixture over your dry ingredients and stir until evenly coated.
  5. Spread the mixture on a lipped baking sheet, pressing it down to evenly cover all the way to the edges.
  6. Bake for 1 hour, gently turning the granola with a spatula every 15 minutes. Flip in sections so that you keep some clumps. Move some of the granola from the edges to the middle and from the middle to the edges about halfway through so that it cooks evenly.
  7. After an hour, turn the oven down to 275°F and cook another 10 -20 minutes. You’ll know it is done when it is dry to the touch and piece left to cool on the counter turns crispy. Remove from the oven and let it cool completely.
  8. If you’re adding dried apricots, stir them in while the mix is still cooling.

Note: store in an air-tight container for up to 2 weeks.